***Note: This is a back-up accommodation for Deaf or hard of hearing students. The primary accommodations is the CAE setting up a StreamText accommodation. This requires no action from the professor/lecturer.***
Overview
In-Person Accommodation: Stenographer in lectures for live-captions
Online Accommodation: Live Captioner assigned for Zoom Sessions
Cooperation From: Faculty/Lecturer, Student, CAE, Assigned Captioner
Tasks/Responsibilities
Student: Notify Faculty/Lecturer and CAE about the need for the accommodation. Turn closed captions on during lecture.
Faculty/Lecturer: Enable "Closed Captioning" and "Save Captions", Give live captioner permission in Zoom to do live captions at the beginning of each lecture.
CAE: Assign live captioner and handle logistics.
Live Captioner: Live caption the lecture(s).
Step-By-Step Guide
Student
Notify Faculty/Lecturer and CAE about the Need for this Accommodation
- Reach out to your faculty/lecturer AS SOON AS POSSIBLE to notify them that you will need this accommodation for their class. Send them a link to this page.
- If you are not comfortable reaching out to your faculty/lecturer yourself, ask your CAE counselor to do it on your behalf.
- Notify CAE that you will need this accommodation AS SOON AS POSSIBLE so they can assign a live captioner. This can be very time-consuming.
- Wait for the CAE to give you further instructions about the live captioner assignment.
- Follow up with the CAE before your classes begin to ensure the accommodation has been successfully set up.
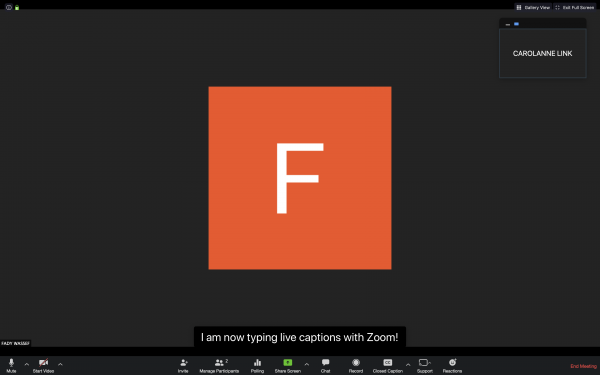
Turn on Closed Captions at the Beginning of Lecture
- Find "CC" in your menu bar. Click it, when it's activated, it will turn green.

- Closed captions will appear on your screen. (See example below)
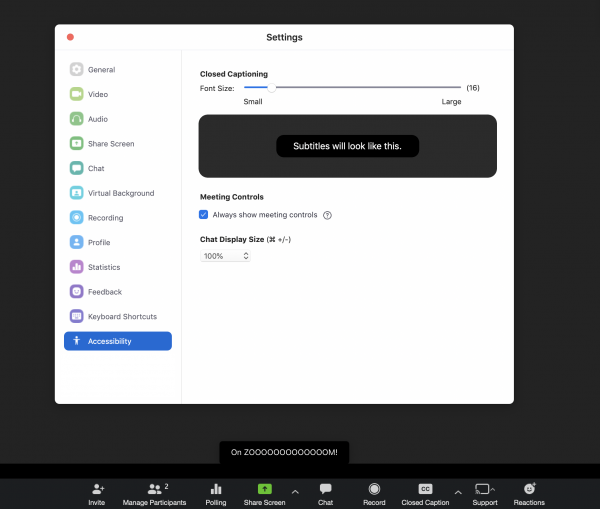
- If you want to change the size and appearance of the captions, go to preferences in your Zoom application (on Mac, click zoom.us at the top of your screen and click Preferences or hit the keyboard shortcut "Cmd"+"," (Command button and comma button) and go to the Accessibility tab (bottom tab)
Faculty/Lecturer
Enable "Closed Captioning" and "Save Captions"
Tutorial Video of Enable "Closed Captioning" and "Save Captions"
- Go to UCLA's Zoom Instance.
- Click "Log in to Zoom" in the top left-hand corner, under the UCLA logo.
- Use UCLA Logon ID and MFA to log in.
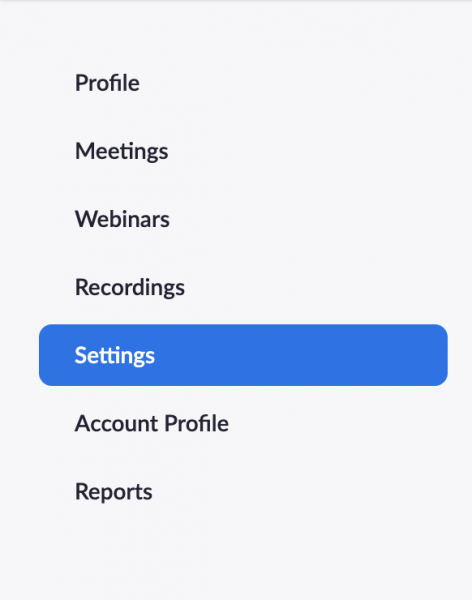
- Click "Settings" in the left margin menu bar.
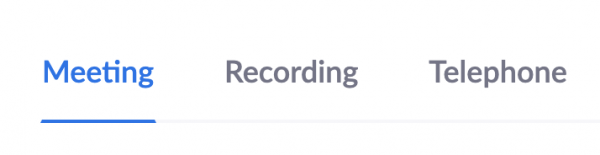
- Make sure "Meeting" is highlighted in the top menu bar (in blue).
- Scroll down to the "In-Meeting (Advanced)" section.
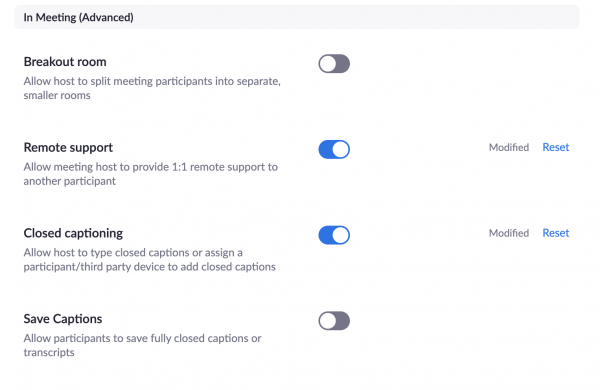
- Enable both the "Closed Captioning" and "Save Captions" options. When they are enabled the white circle will be on the right-hand side of the switch. The grey switch will turn blue. The note "Modified" will pop up on the right in grey text, and the text button "Reset" will also pop up in blue text."
Give Live Captioner Permission in Zoom to Live Caption (at the beginning of every lecture)
- When logging in to your Personal Meeting Room, check that Closed Captions were successfully enabled by seeing the "CC" button in the menu bar.

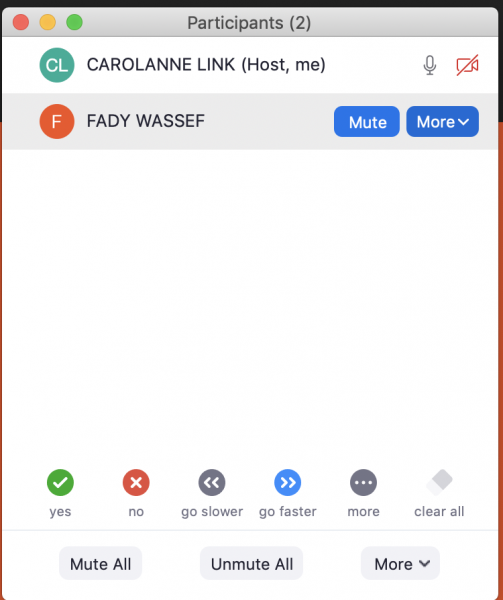
- Click on this button and a pop-up menu will show the options: "Assign a participant to type", "I will type", and "Copy the API Token".

- Click "Assign a participant to type". A participants list will pop up.
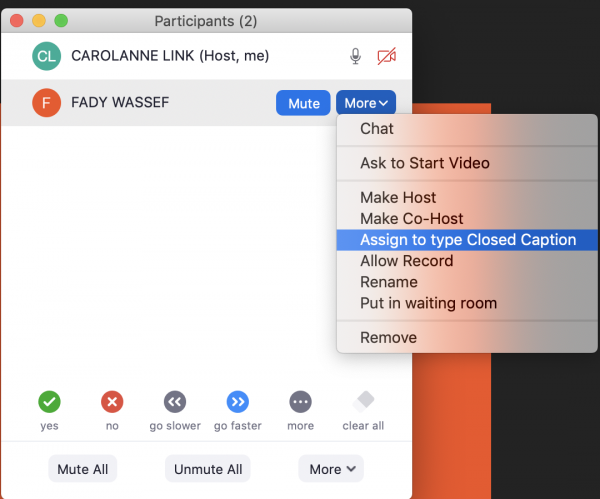
- Click the "More" button next to the Live Captioner's name.
- Click "Assign to type Caption" in the pop-up submenu.
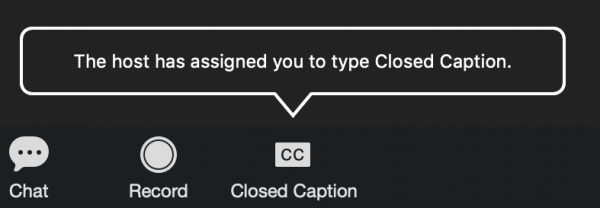
- The live captioner assigned will get a pop-up notification.

- The live captioner will get a text box to start typing the live captions (initially completely blank).

CAE
Assign Live Captioner and Handle Logistics
- After getting an accommodations request from a student, the CAE will assign a live captioner.
- The CAE will give the live captioner the information on how and when to attend lecture(s).
- The CAE will give live captioner information to the student and the faculty/lecturer.
- The CAE will handle any payment needed.
Live Captioner
Creating the Live Captions
- The CAE will give you instructions on how and when to attend lectures.
- When the faculty/lecturer assigns you to type live captions at the beginning of lecture (you need to be in the Zoom room) for this to happen, a notification will pop up telling you you've been assigned.
- After you click on the "CC" button, a text box will pop-up for you to type the captions during lecture. Note: The participants who have captions turned on can see the captions as you are typing, not only after you've hit Enter.
