If you want to group objects together and write one alt text for the larger group, you will need to convert the grouping to an image, reinsert, and then write your alt text.
- To convert a grouping to an image, group the desired elements together, right click, and select “Save as Picture…”.
- To reinsert the image back into your presentation, from the Insert menu, select Picture > “Picture from File…” and select the desired image.
- Add descriptive alt text to the reinserted image.
Example:
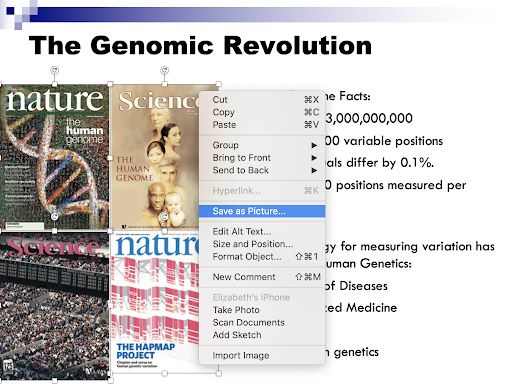
In the slide pictured below, the four images of magazine covers to the left provide context into the recent prevalence of genetics in media. However, the content of the specific covers aren’t pertinent to the information being presented on the slide. So, we will group the four images together as one image, and then include alt text for the reinserted picture (containing all four magazine covers).

To save all four images as one, select one image, hold down shift, and select the other three images. Right click anywhere within the four images, and select “Save as Picture…”.
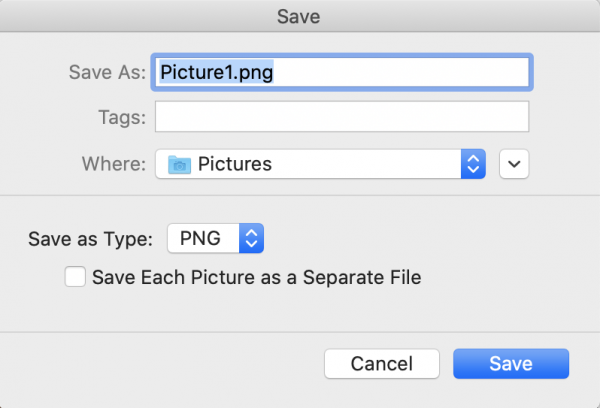
There will be a pop-up menu that gives you the option to rename the image before saving - you can change the name as desired. Leave the other default settings: save to the Pictures folder, and save as PNG. Click save, and your grouped image has been created!
Finally, we need to reinsert the new PNG back into the presentation and add alt text. To do so, in the Insert menu section of the top bar, select “Pictures” > “Pictures from File…”. From there, you can select the image you just saved, in this case called “Picture1.png,” and select “Insert”. You may now delete the existing four images and drag the saved PNG containing all four to the correct location. Add informative alt text, and you’re done!
(Example slides courtesy of Eleazar Eskin, CS CM 122)